Required Tools:
A floor jack
Jack stands
Socket set
30mm 12-point socket
8mm triple square drive bit
Socket set
Breaker bar
Hammer
Various other regular tools
Torque Wrench
Strong Loctite or the $20 VW axle adhesive.
Some things that make job this easier:
Impact wrench
PB Blaster
Axle puller
Quick dry spray paint
Bentley Manual
Parts:
Axle
New axle nut (should come with axle)
New axle gasket (should come with axle)
Joint grease (should come with axle)
New axle bolts to bolt axle to transmission (not required but good to have in case you strip the existing ones)
You definitely need a 30mm 12-point socket. I purchased an impact
socket to use with my impact gun from McMaster but a regular one will
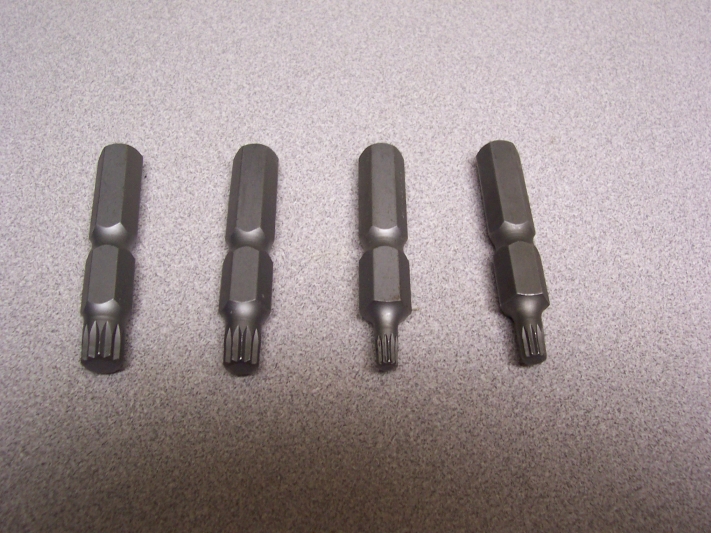
work if you are just using a breaker bar. You do however need an 8mm
triple square drive bit. I got a set of them from Autozone and they
worked fine for this job. Here is a picture of the ones I have. You
just put them in a 1/2" socket.
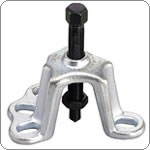
Also, since the stock VR axles are basically glued into the hub, you need some type of puller to press them out or you could hit it out with a hammer. I rented this press from Autozone for free and it worked great.
You might also want the VW axle adhesive. The part number is in the Bentley and you can get it from World Impex for about $20. Some people don't use this but I wanted to use something so I used some high strength Loctite.
As far as the axle, I ordered a replacement from German Auto Parts for about $95. It was an all new Empi axle and appeared to be of good quality. I also ordered 6 new axle bolts from them for less than a dollar each.
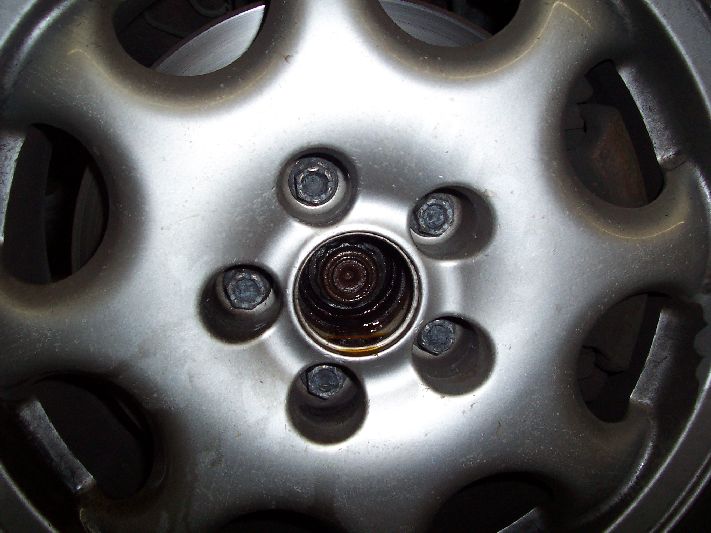
The first thing to do is with the car on the ground, pop off the center cap of the wheel, and spray some PB blaster on the axle nut. This will help with the release of the nut. I let it sit for a couple of minutes. While waiting, loosen the lug nuts. Now, using a long breaker bar or an impact wrench, loosen the axle nut. I used an impact wrench and it came right off. Here's a picture of the wheel:
Next, place the jack under the jack pad behind the wheel on the side of the car that you are working on. After I did this, I placed a jack stand under the sub frame were it seemed strong, removed the jack and did the same on the other side. Next, I removed the wheel and the axle nut all the way.
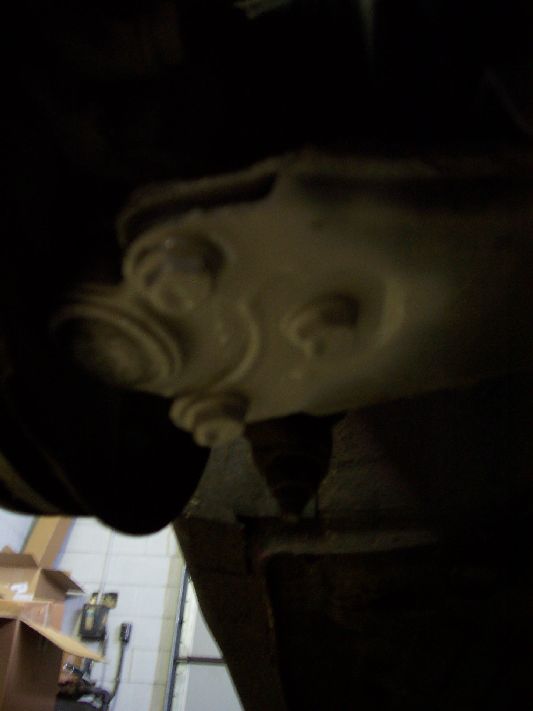
To make sure that the alignment of the car is put back to the way it was before, I sprayed some quick dry spray paint over the bolts that connect the control arm to the ball joint. This way you can put the bolts back to where they were before, or it will be very close. Here is a picture even though it’s not the best:
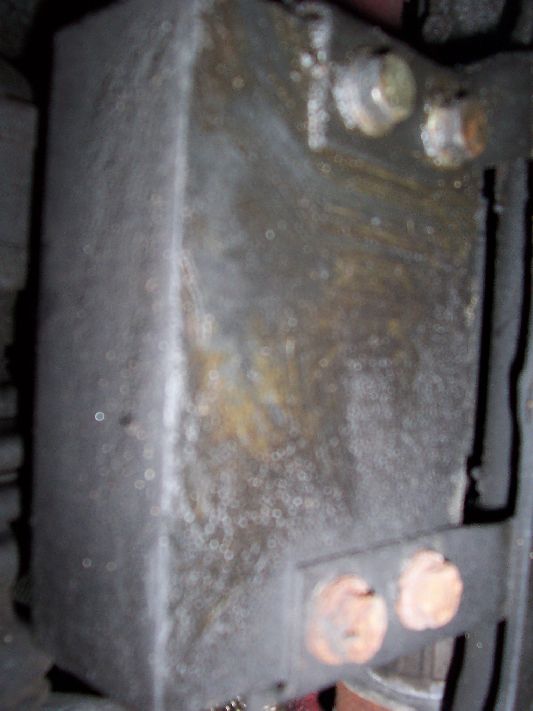
If you’re changing the passenger side axle, like I did, then you have to remove the vibration dampener block. Unbolt the for 13mm nuts and bolts and remove it. This is what it looks like:
After that, remove the 6 axle bolts holding the axle to the transmission. The bolt heads are full of dirt and grime so it helps to pound in the bit. Have a helper hold the brake rotor while you remove the bolts. Then rotate the axle to get access to the next bolt.
After all 6 bolts are out, proceed to remove the 3 13mm bolts that hold the ball joint to the control arm. The paint should be dry if it was quick drying. I broke a cheap import socket on these bolts but it was no match for my Craftsmen set. Note that the nuts are welded on to a piece of metal so there is no need to counter hold the nuts while removing the bolts. Use the floor jack under the brake rotor to support the hub and to maneuver it.
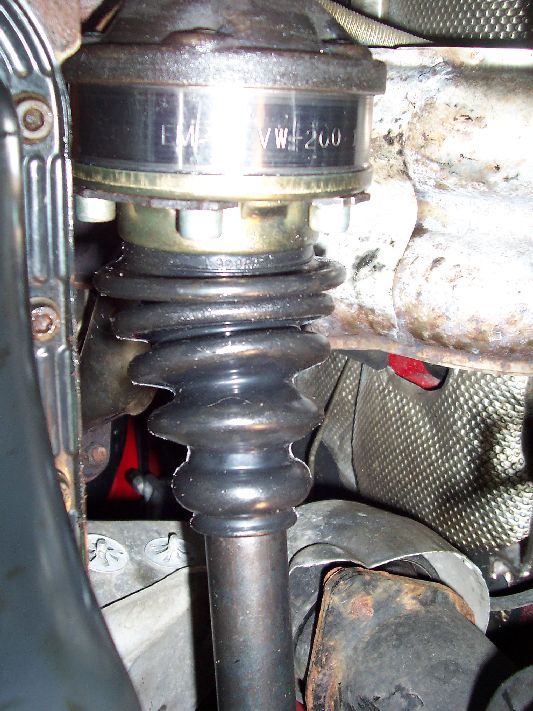
Rotate the hub a bit so there is about 2 inches between the axle and the transmission. Attach the puller to the hub and press out the axle from the hub. Make sure that the axle has sufficient clearance on the transmission side while pressing it out. Here is a picture of the axle being pressed.

I pressed it out with ease. It came right out. If you don't want to use a puller, I have heard of people just hammering it out. At this point the axle should be loose and can be removed from the car. Here is a picture of the old vs. new:
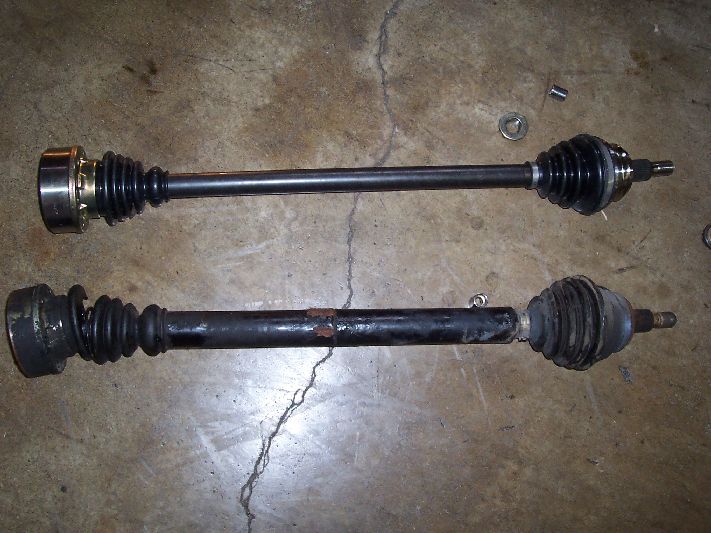
As you can see, the boot is destroyed, thus the need for replacement. (Ok, I could have done just the boot but for all the trouble its worth, it’s easier to just do the axle). The new axle came with a gasket and some grease. Here is a picture of the axle bolts, the grease, and the gasket.

The gasket has an adhesive side and according to the Bentley, it gets stuck to the flange on the axle. I did this and packed half of the grease into the joint and the other half into the boot. The outer joint comes packed and ready to go.
After the grease has been applied, I put in the new axle. I started at the transmission side. Basically, line it up and bolt it on. I put the little pieces of metal that go between the bolts back on. Put in all the bolts and then tighten to 33 ft/lbs. Here is a picture of the inner joint bolted up:
Go to the hub and make sure that both the inside of the hub and the splines on the axle are free of oil and dirt. This is the point at which you can choose to a) apply loctite to the splines b) put the VW stuff on it or c) put nothing on it. I chose the loctite and I think it should be fine. I can't really see how the axle is going to fall out and how some adhesive will keep it in even if it would fall out.
Put the axle into the hub and reattach the ball joint to the control arm. Line up the bolt heads to the spot they were before using the paint marks. Tighten them to 26 ft/lbs. Also, if you removed the dampener brick from the sub frame, bolt it back now. Put the wheel back on and bolt it up. Thread on the axle nut on and tighten it a bit.
Lower the car back on to the ground. Torque the lug bolts to 81 ft/lbs. Now torque the axle nut to 66 ft/lbs and turn it the wrench an 1/8 of a turn further.
It seems long but it was pretty easy and only took me about 2 hours. I saved about $100 dollars because my shop quoted me $200 for the job and the axle was about $100.
Download a zip file containing a PDF version of this guide and detail images